


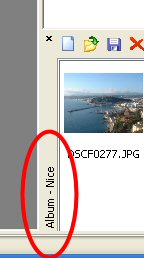
Loading and saving albums
Albums are set of images that you can use to create content from or just use to categorize your pictures. By default you work on an unnamed album. Saving an album is just a matter of giving a name to your album. Just hit the save button in the album window toolbar and give a name to your album. Right after you saved it, you can see that the title of the Album window has been updated and reflects the fact that you are now editing this new album:
Caution: albums work in autosave mode. Every change you make to an album is automatically saved and there is no way you can undo changes.
If you want to create a new album click the new album button and you will get a new unnamed empty album.
To load one album simply click the Load album button. A list of all your albums will be displayed. Double-click to load the one you want. For quicker access you can choose to always the display the album list. Go to the View or Album menus and choose the display the list here. Once the list is displayed, loading an album is just a matter of clicking on its name in the list.
If you want to add an image to one of your albums without having top load it, look in the contextual menu of the Image Browser once you have selected one or several images. The menu "Add Image To Album" should give you the choice of adding the image to the current album but will also list your existing albums so you can add the images directly to this album. Only the first 10 albums are displayed. If you have more than 10 albums then choose the last option and a window showing all your albums will popup. Double-click the one you want to add the images to.
More album management options can be found at the top of the Album menu.